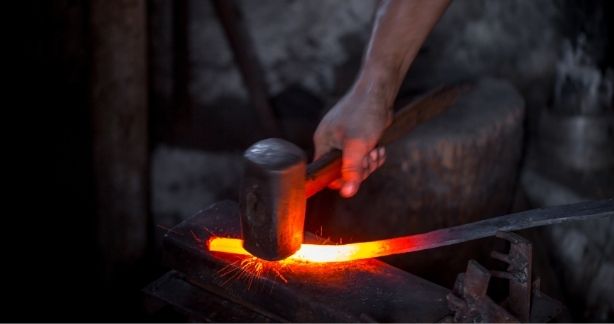
If you’re new to blacksmithing and watch a veteran blacksmith at work, you may not be able to discern the different types of hammering techniques they use. You will pick up the different types of hammering techniques over time as you practice and hone your craft. To get started learning these techniques, read this article for some of the basic hammer strikes in blacksmithing and how you can use them in your projects.
Basic Hammer Strikes
There are several techniques and specific strikes that blacksmiths use to help them carve out their final product. These are some of the most common types of strikes and blows used in blacksmithing and metalworking.
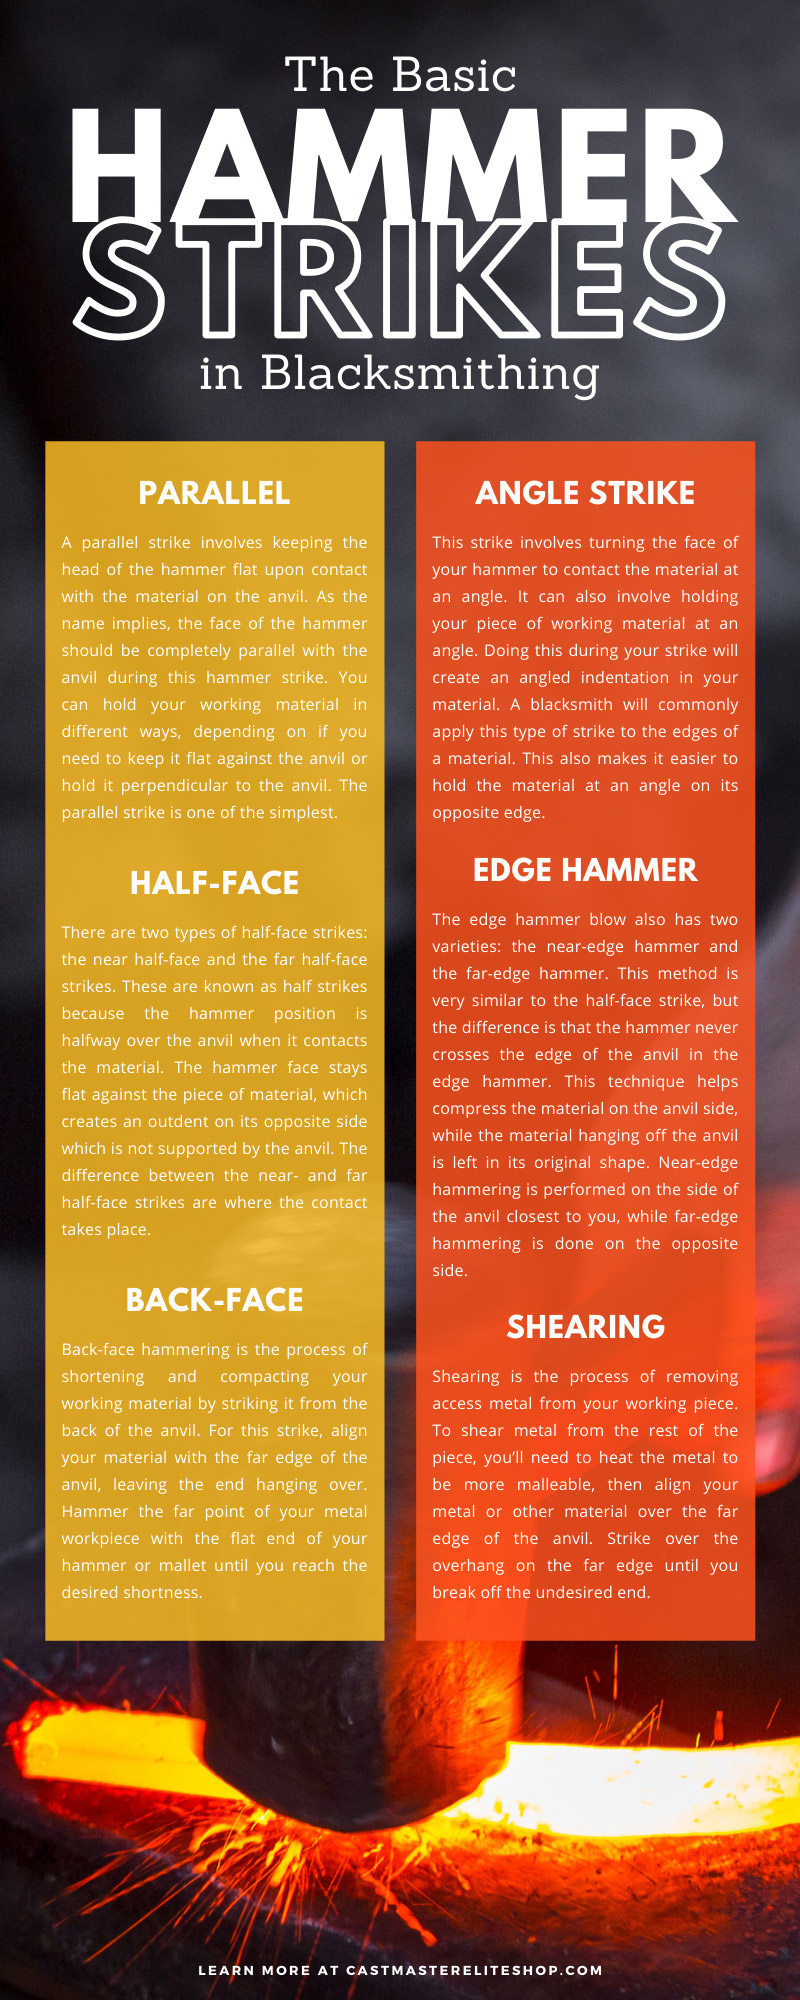
Parallel
A parallel strike involves keeping the head of the hammer flat upon contact with the material on the anvil. As the name implies, the face of the hammer should be completely parallel with the anvil during this hammer strike. You can hold your working material in different ways, depending on if you need to keep it flat against the anvil or hold it perpendicular to the anvil. The parallel strike is one of the simplest.
Angle Strike
This strike involves turning the face of your hammer to contact the material at an angle. It can also involve holding your piece of working material at an angle. Doing this during your strike will create an angled indentation in your material. A blacksmith will commonly apply this type of strike to the edges of a material. This also makes it easier to hold the material at an angle on its opposite edge.
Half-Face
There are two types of half-face strikes: the near half-face and the far half-face strikes. These are known as half strikes because the hammer position is halfway over the anvil when it contacts the material. The hammer face stays flat against the piece of material, which creates an outdent on its opposite side which is not supported by the anvil. The difference between the near- and far half-face strikes are where the contact takes place. A near strike is when you perform the strike on the edge of the anvil closest to you. Alternatively, a far half-face strike is when you perform the strike on the far edge. The technique for near- and far half-strikes remains the same, though the shapes you can create from both differ due to the position of the edge and the material.
Edge Hammer
The edge hammer blow also has two varieties: the near-edge hammer and the far-edge hammer. This method is very similar to the half-face strike, but the difference is that the hammer never crosses the edge of the anvil in the edge hammer. This technique helps compress the material on the anvil side, while the material hanging off the anvil is left in its original shape. Near-edge hammering is performed on the side of the anvil closest to you, while far-edge hammering is done on the opposite side.
Back-Face
Back-face hammering is the process of shortening and compacting your working material by striking it from the back of the anvil. For this strike, align your material with the far edge of the anvil, leaving the end hanging over. Hammer the far point of your metal workpiece with the flat end of your hammer or mallet until you reach the desired shortness.
Shearing
Shearing is the process of removing access metal from your working piece. To shear metal from the rest of the piece, you’ll need to heat the metal to be more malleable, then align your metal or other material over the far edge of the anvil. Strike over the overhang on the far edge until you break off the undesired end.
Applications of Different Hammer Strikes
Now that you know the differences between the different striking methods, you can understand how blacksmiths employ them to form a specific piece. Here are some of the applications for each striking method:
- Parallel: Parallel hammering allows you to flatten and smooth out your working material. This technique also allows you to start shaping the point of a knife or other sharp tools you may be smithing.
- Angle: Angle strikes allow you to further shape and refine your materials. A common application for angle strikes is to create a sharper point on a blade or other tool. Holding your material at an angle helps refine this edge. A combination of parallel and angle blows will help form an even, smooth point.
- Half-Face: The half-face blow will create a shoulder on one side of your material. Using the far- or near-side half-face technique will compact whichever side of the working material you need.
- Edge Hammer: The edge hammer technique is similar to the half-face blow, though you concentrate all your power onto the material on the anvil, which leaves the material over the side of the anvil in its original form. Use this technique to flatten out a very specific part of your material.
- Back-Face: The back-face method allows you to flatten and compact the material at the very end of your piece. If you needed a thicker end to your final product, this method can help create that effect.
- Shearing: Shearing strikes remove the end of the material you are working with. If you need a shorter tool or the portion you are working with has been damaged, you can use the shearing technique to take off the end of the piece.
As a beginner, it is helpful to study the basic hammer strikes in blacksmithing so you can identify them when you observe other blacksmiths. This will help you understand their applications and when to use each one when you’re smithing on your own. And when the time comes to open your own forge, you can find all the blacksmithing equipment for sale you’ll need right here at Cast Master Elite.